
How to port forward for gaming usually comes up the moment matchmaking fails, voice chat drops, or your console keeps warning about NAT type, and it can feel like your internet is “fine” yet games still refuse to cooperate.
Port forwarding is basically telling your router, “when game traffic hits this port, send it to this device.” Done right, it can improve connectivity for certain titles, hosts, and peer-to-peer sessions. Done wrong, it can expose a device more than necessary, so it’s worth being a little picky about what you open.
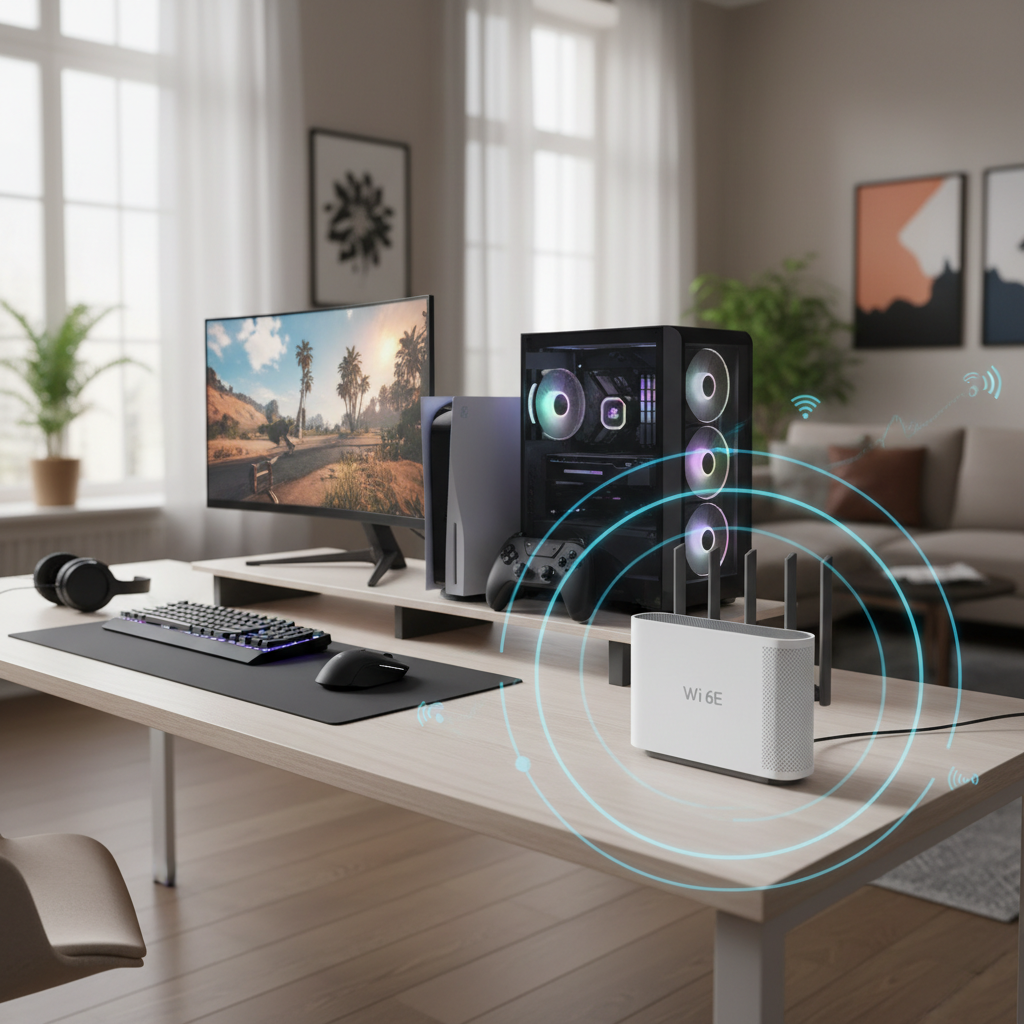
This guide focuses on the practical path: when port forwarding is worth it, how to do it on most routers, what to do if it doesn’t work, and safer alternatives like UPnP. You’ll also get a quick checklist and a small reference table you can keep nearby.
What port forwarding does (and when it actually helps)
Port forwarding creates a rule on your router so inbound connections on specific ports get routed to one device on your network, like your PC, Xbox, or PlayStation. In gaming, this mostly matters for titles that rely on direct connections between players, hosting, or certain voice and party features.
Many modern games use dedicated servers where port forwarding changes little, but you can still see improvements in edge cases like strict NAT, joining friends, hosting custom lobbies, or using older peer-to-peer matchmaking.
- Likely to help: strict or moderate NAT warnings, trouble joining party chat, unable to host, frequent “failed to connect” errors.
- Less likely to help: high ping due to distance, Wi-Fi interference, ISP congestion at peak hours, server outages.
According to the U.S. Federal Communications Commission (FCC), many performance issues come down to the quality of the connection and local network conditions, so it’s smart to rule out basic network problems before opening ports.
Before you open ports: quick self-check (saves time)
Before you jump into router menus, confirm this is really a NAT/port issue and not something else. This part looks boring, but it’s where most “port forwarding didn’t work” stories start.
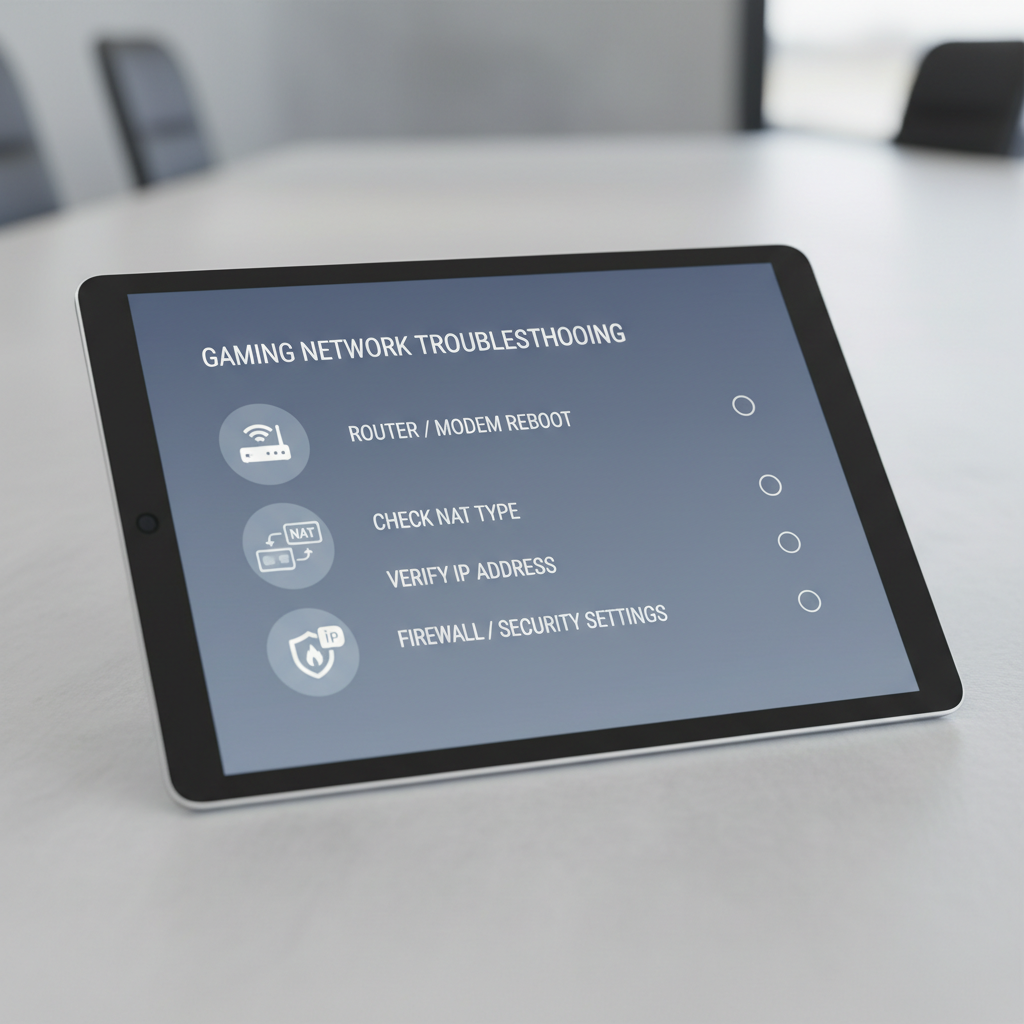
- Confirm the symptom: the game mentions NAT type, “strict NAT,” “double NAT,” or can’t host/join.
- Try wired first: test on Ethernet if possible, Wi-Fi issues can mimic NAT problems.
- Check your NAT status: consoles show it in network settings; some PC titles show it in-game.
- Make sure you’re on the main router: if you use a mesh node or extender, you still configure the primary gateway.
- Look for double NAT: if your ISP modem is also a router, you might be behind two routers.
If you find double NAT, fix that first (bridge mode, passthrough, or using only one router). Port rules often won’t behave until your network has a single “edge” router.
What you need: IP address, ports, and a plan
To set up port forwarding cleanly, you need three things: your device’s local IP address, the port numbers your game or platform uses, and a decision on whether to forward to one device or several.
1) Assign a stable local IP (don’t skip this)
Forwarding rules point to a specific LAN IP, like 192.168.1.50. If that IP changes later, your rule silently breaks. Most routers let you create a DHCP reservation so the device always gets the same address.
- Find the device’s MAC address (console network info page, or PC network adapter details).
- In the router, look for LAN, DHCP, or Address Reservation.
- Reserve an IP outside the “busy” range if your router recommends it.
2) Identify the correct ports (use official sources)
Port lists vary by game and platform, and random forum lists can be outdated. Start with the publisher’s support page, your console’s support docs, or the game’s official help center.
According to CISA (Cybersecurity and Infrastructure Security Agency), exposing services to the internet can increase risk, so keep rules minimal: only what you need, only for the device that needs it, and remove them if you stop playing that title.
Step-by-step: how to port forward on most routers
The menu names change by brand, but the flow stays similar. If you’ve been wondering how to port forward for gaming without getting lost, follow this checklist and you’ll end up in the right place on most home routers.
Step 1: Log in to your router
- On a device connected to your network, open a browser.
- Go to your router’s gateway address (commonly 192.168.0.1 or 192.168.1.1).
- Sign in with your admin credentials.
Step 2: Locate Port Forwarding (or Virtual Server / NAT)
Common paths include: Advanced → NAT → Port Forwarding, or Security → Applications. Some brands call it Virtual Server.
Step 3: Create a new rule
- Service name: something you recognize, like “GameName UDP 3074.”
- Device IP: your reserved LAN IP (example: 192.168.1.50).
- Protocol: TCP, UDP, or Both, match the game’s requirement.
- External port: the public-facing port number.
- Internal port: often the same, unless documentation says otherwise.
Step 4: Save, apply, and reboot if needed
Some routers apply rules instantly, others need a restart. After that, restart the console/PC as well, especially if the game caches network state.
Common gaming ports (reference table, not a universal rule)
This table is a quick reference for popular platforms, but it’s not a promise that every game uses these ports the same way. Always cross-check with the specific title’s support docs.
| Platform/Service | Ports (typical examples) | Protocol | Notes |
|---|---|---|---|
| Xbox Live | 88, 500, 3074, 3544, 4500 | UDP (mostly), some TCP | NAT type issues often show up here; UPnP may be enough |
| PlayStation Network | 80, 443, 3478-3480 | TCP/UDP | Party and matchmaking can be sensitive to NAT |
| Steam (general) | 27015-27030 | TCP/UDP | Varies by game; dedicated servers often need different ports |
| Nintendo Switch (general) | varies widely | UDP (common) | Switch NAT can be impacted by double NAT and ISP setups |
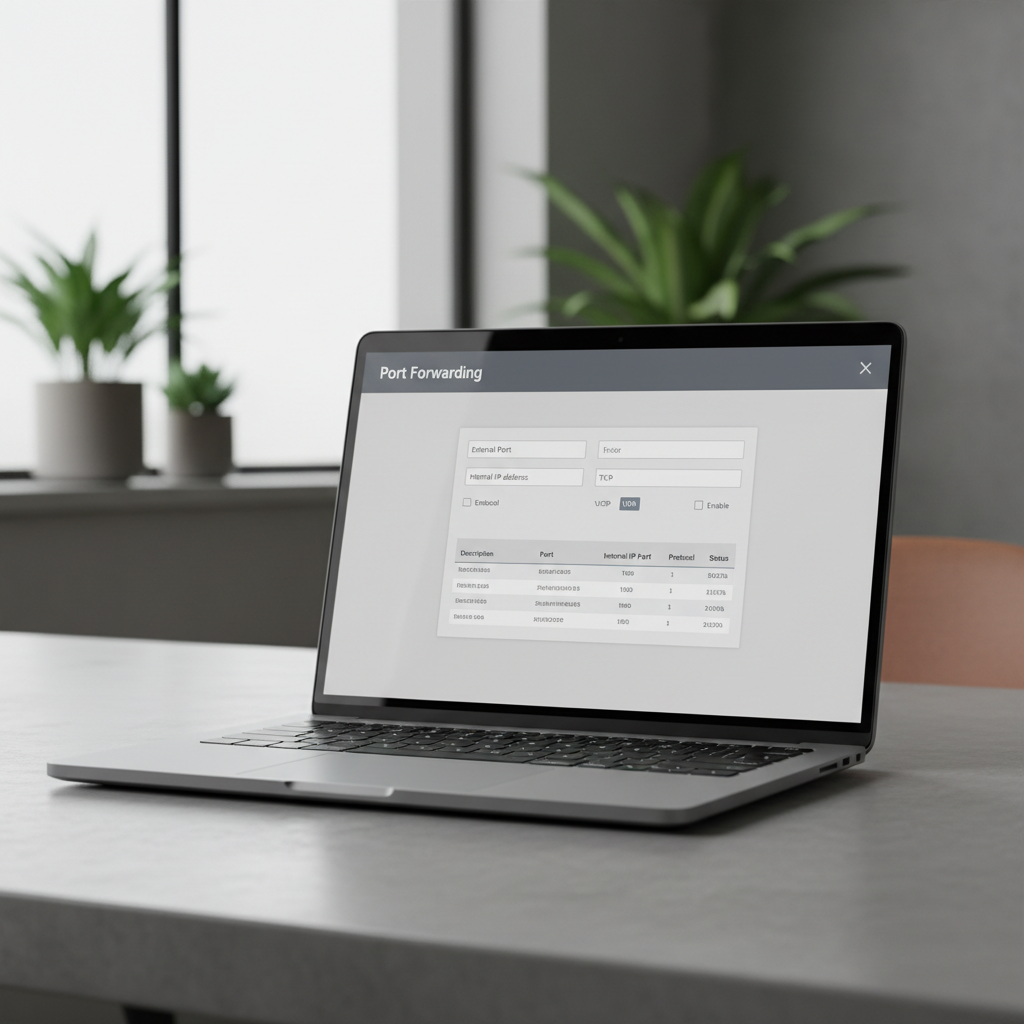
If you play multiple games, resist the urge to open everything “just in case.” Most people get better results by starting with a minimal set, testing, then expanding only if the specific error persists.
Troubleshooting when port forwarding “doesn’t work”
When people say they tried how to port forward for gaming and nothing changed, it’s usually one of these issues. The fixes are annoyingly practical, but they solve the majority of cases.
- Wrong device IP: the rule points to an old IP; fix with DHCP reservation.
- Double NAT: your ISP gateway also routes; enable bridge mode or use passthrough, or forward on both devices if that’s your only option.
- CGNAT from ISP: some ISPs don’t give a true public IPv4, so inbound connections won’t reach you; you may need to request a public IP or use IPv6 if supported.
- Firewall conflicts: PC security software or OS firewall blocks the inbound traffic even though the router forwards it.
- Port already in use: two devices can’t reliably share the same forwarded port; pick one target device.
- Wrong protocol: UDP vs TCP mismatch is common, especially when people select “Both” without checking the game’s docs.
Key point: if your router shows the rule correctly and your NAT stays strict, investigate CGNAT and double NAT before you keep adding more ports.
Safer alternatives: UPnP, DMZ, and when to use each
Port forwarding is not the only way to improve NAT behavior. In many homes, UPnP (Universal Plug and Play) is the simpler fix because the console or game requests the ports automatically.
- UPnP: convenient, often works well for consoles, but it allows devices to request port mappings automatically, which can be a tradeoff.
- Manual forwarding: more controlled, better when you want predictable rules, but takes setup and maintenance.
- DMZ: usually a last resort; it exposes a device broadly to inbound traffic. If you go this route, it’s typically better for a console than a PC, and only if you understand the risk.
According to NIST (National Institute of Standards and Technology), reducing exposed services is a common security best practice, so prefer the least-open approach that solves your actual gaming issue.
Practical setup tips for smoother gaming after you forward ports
Once the rules are in place, there are a few small adjustments that tend to make the results more consistent, especially if your household has lots of devices.
- Keep one “main gaming device” per forwarded port: avoid forwarding the same port to multiple IPs.
- Enable QoS carefully: if your router supports Quality of Service, prioritize gaming traffic, but don’t over-tune it unless you understand the settings.
- Prefer Ethernet: forwarding ports won’t fix Wi-Fi interference, and many “lag” complaints are really Wi-Fi stability problems.
- Document your changes: write down what ports you opened and why, so you can remove them later.
If you’re testing results, change one thing at a time: update NAT method, test, then move on. Otherwise it’s hard to tell what made the difference.
Conclusion: the simple way to do this without over-opening your network
If you came here to learn how to port forward for gaming, the real win is not “opening a bunch of ports,” it’s getting from strict NAT to a stable connection with the smallest, cleanest set of rules. Reserve a local IP first, forward only the ports your game actually uses, then confirm you’re not fighting double NAT or ISP CGNAT.
Action steps: pick one game to fix today, apply the minimal port list from its official support page, then run a quick NAT test on your console or in-game network screen. If nothing changes, shift your focus to the ISP/router topology instead of adding more rules.