
how to watch 3d movies in vr comes down to three practical things most people miss at first, the 3D format of the movie file, the player app you use, and a couple of display settings that control depth and comfort.
If you have ever loaded a “3D” file and it looked flat, doubled, or gave you a headache fast, that usually is not your headset “failing,” it is a mismatch between the file layout (SBS or OU), the app’s 3D mode, and your IPD and comfort setup.
This guide walks you through the common formats, the easiest ways to play them on popular headsets, and a short troubleshooting flow so you can get a clean 3D image without spending your night toggling random options.
What you need (and what you can skip)
You do not need a “3D-capable” headset in a special hardware sense, most modern VR headsets can present stereoscopic video. What you do need is the right combo of content + playback app + correct 3D mode.
- A 3D video source: ripped Blu-ray 3D, a 3D download you legally own, or a streaming source that provides a real stereoscopic stream.
- A VR video player that supports 3D layouts (SBS/OU) and a theater environment.
- Enough storage/bandwidth: 3D files are often large, and low bitrate can make depth look noisy.
- Comfort basics: a clean lens, correct IPD setting if your headset supports it, and a stable head strap fit.
You can usually skip “3D enhancement” filters or aggressive sharpening, those often make edge halos worse and reduce the sense of depth.
Understand 3D formats before you press play
Most frustration comes from expecting the app to “guess” your 3D type. It rarely does. The same file can look perfect or totally wrong depending on one dropdown.
Common 3D layouts you will see
- SBS (Side-by-Side): left and right eye images sit next to each other horizontally. Variants include “full SBS” and “half SBS.”
- OU / TAB (Over-Under / Top-and-Bottom): left and right eye images stacked vertically, also has “full” and “half.”
- Frame-packed Blu-ray 3D: highest quality source from 3D Blu-rays, often needs conversion or a player workflow that supports it.
- Anaglyph (red/cyan): not ideal in VR, color accuracy suffers, usually not worth it unless that is all you have.
Quick rule, if you see a “double image” side-by-side in a normal player, it is likely SBS. If you see top and bottom halves, it is OU.
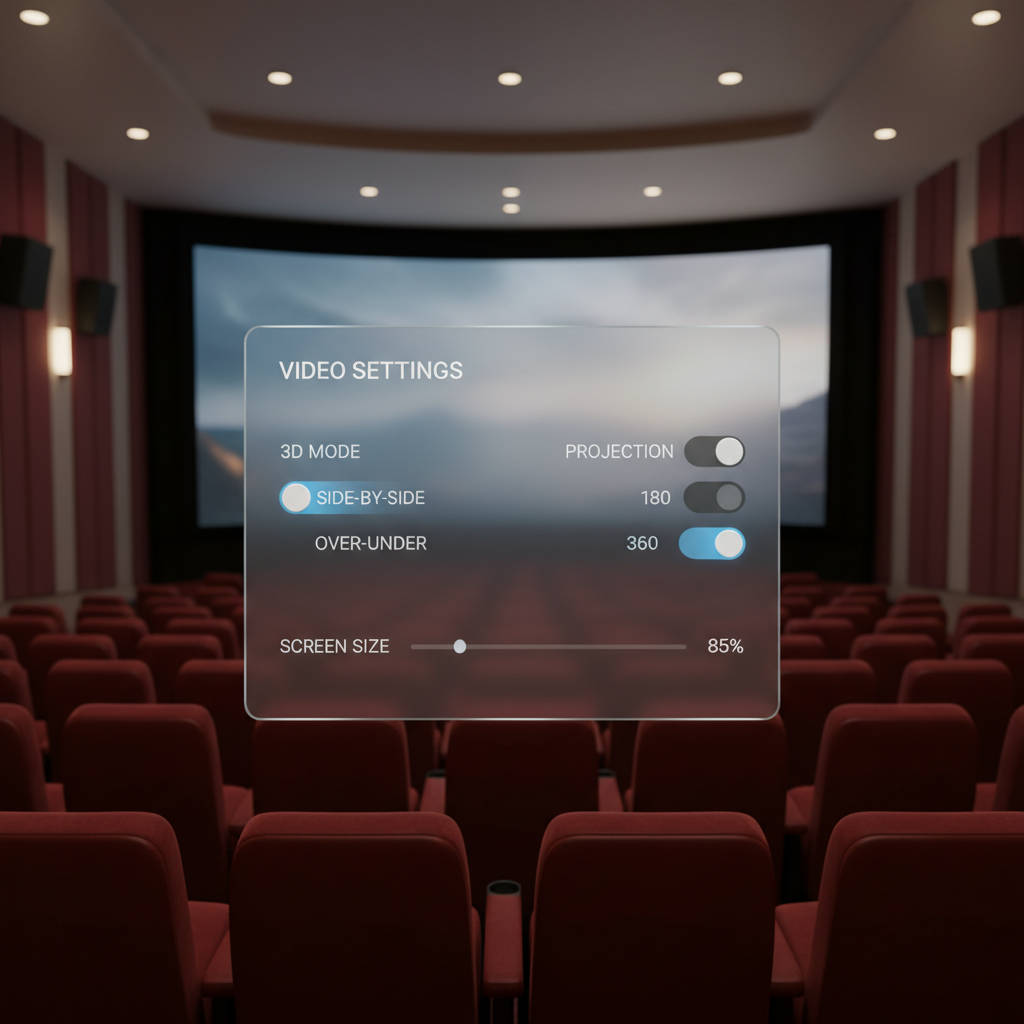
Cheat sheet table: pick the right 3D mode
| What the video looks like before 3D mode | Choose this in the VR player | Typical label |
|---|---|---|
| Two images left/right | Side-by-Side | SBS, HSBS, Full SBS |
| Two images top/bottom | Over-Under / Top-Bottom | OU, TAB, HOU |
| Looks normal (not doubled) but depth feels off | Try swapping eyes | Swap L/R, Reverse stereo |
| Looks doubled even after choosing SBS/OU | Check projection type | 180/360 vs Flat screen |
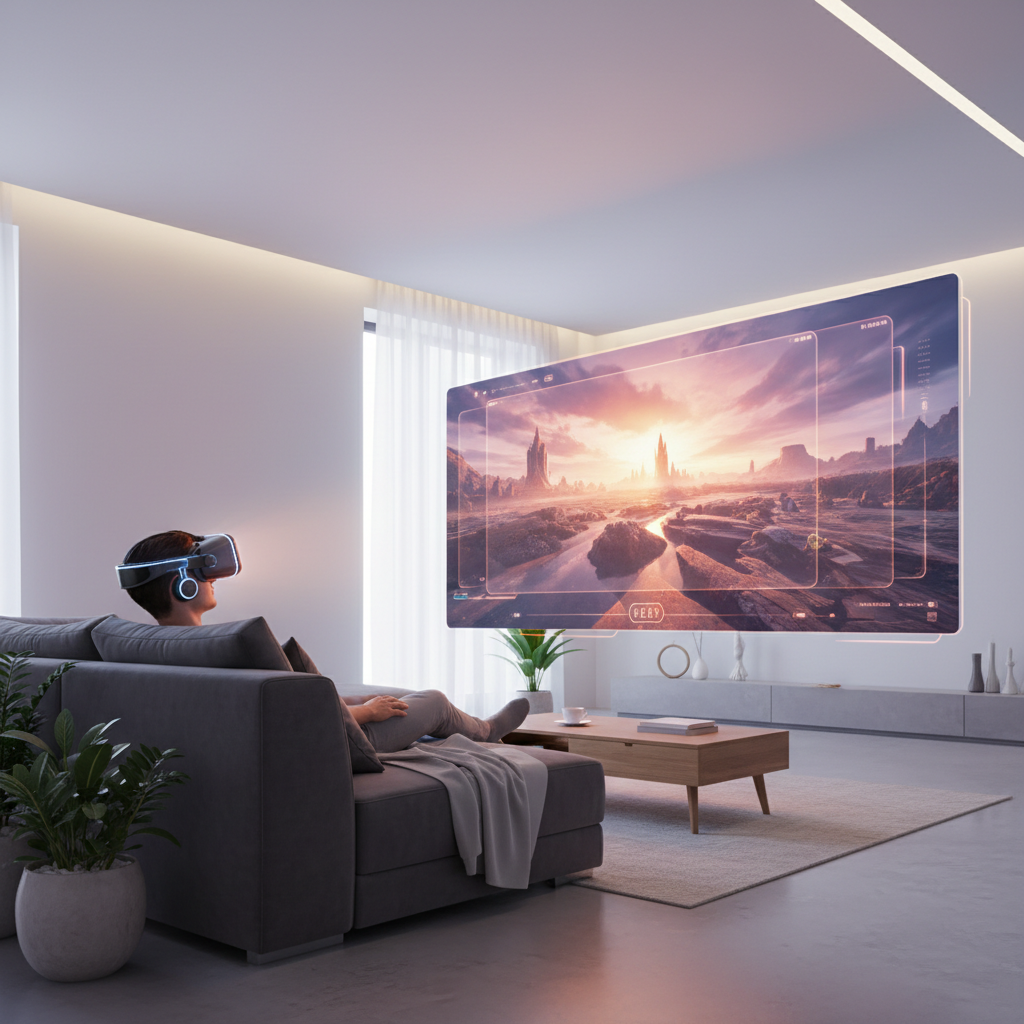
Best ways to watch 3D movies in VR (by headset setup)
There are many apps, but the workflow is usually the same. You are choosing where the file lives (local storage, PC, NAS), then choosing the correct projection and 3D layout.
Option A: Play a local 3D file directly on the headset
This is the simplest for many people, especially on standalone headsets.
- Copy the 3D video file to the headset storage (USB transfer, cloud sync, or an app’s built-in file browser).
- Open it in a VR media player that supports stereoscopic modes.
- Set screen type to Flat (for normal movies), then select SBS or OU.
- If the depth feels “inside-out,” toggle Swap Eyes.
Good for travel and quick testing. The tradeoff is storage, high quality 3D rips get big fast.
Option B: Stream from a PC (best for large libraries)
If you have a PC with plenty of storage, streaming can be smoother than copying files around, and it is easier to manage a library.
- Put your 3D movies on the PC or a connected drive.
- Use a DLNA/SMB share or the player’s PC streaming feature.
- In the headset app, browse the network share, open the file, then set the correct 3D layout.
Many people get stuck on permissions rather than VR settings, if the share is visible but folders look empty, it is often a login/SMB version issue.
Option C: Use a NAS or home media server
This is the “set it once” approach if you already run a media server at home. It is also the cleanest way to watch across devices.
- Store the 3D files on the NAS.
- Expose them through SMB, DLNA, or a media server app.
- Connect from the VR player and choose SBS/OU as needed.
For Wi‑Fi, a stable 5 GHz network (or better) helps reduce buffering, especially for high bitrate 3D.
Step-by-step: get the picture “right” in under 5 minutes
If you only want the practical checklist, this is it. It works for most headsets and most apps.
- Step 1: Confirm the file is truly 3D (SBS or OU) and not just labeled “3D.”
- Step 2: In the VR player, set projection to Flat for standard movies (not 180/360).
- Step 3: Pick the matching 3D layout, SBS or OU.
- Step 4: If depth looks wrong, toggle Swap Eyes.
- Step 5: Adjust screen size and distance until subtitles are readable without squinting.
- Step 6: Reduce “3D strength” if your player offers it, comfort first.
When people ask how to watch 3d movies in vr and say “it still looks weird,” step 2 and step 4 solve a surprising share of cases.
Comfort, safety, and quality tips (so 3D stays fun)
3D can strain your eyes if your setup forces constant refocusing or if your IPD is off. According to the American Academy of Ophthalmology, some viewers may experience eye strain or headaches with 3D viewing, and taking breaks is a sensible approach if discomfort shows up.
- Start with short sessions: 10–20 minutes, then decide if you want a full movie.
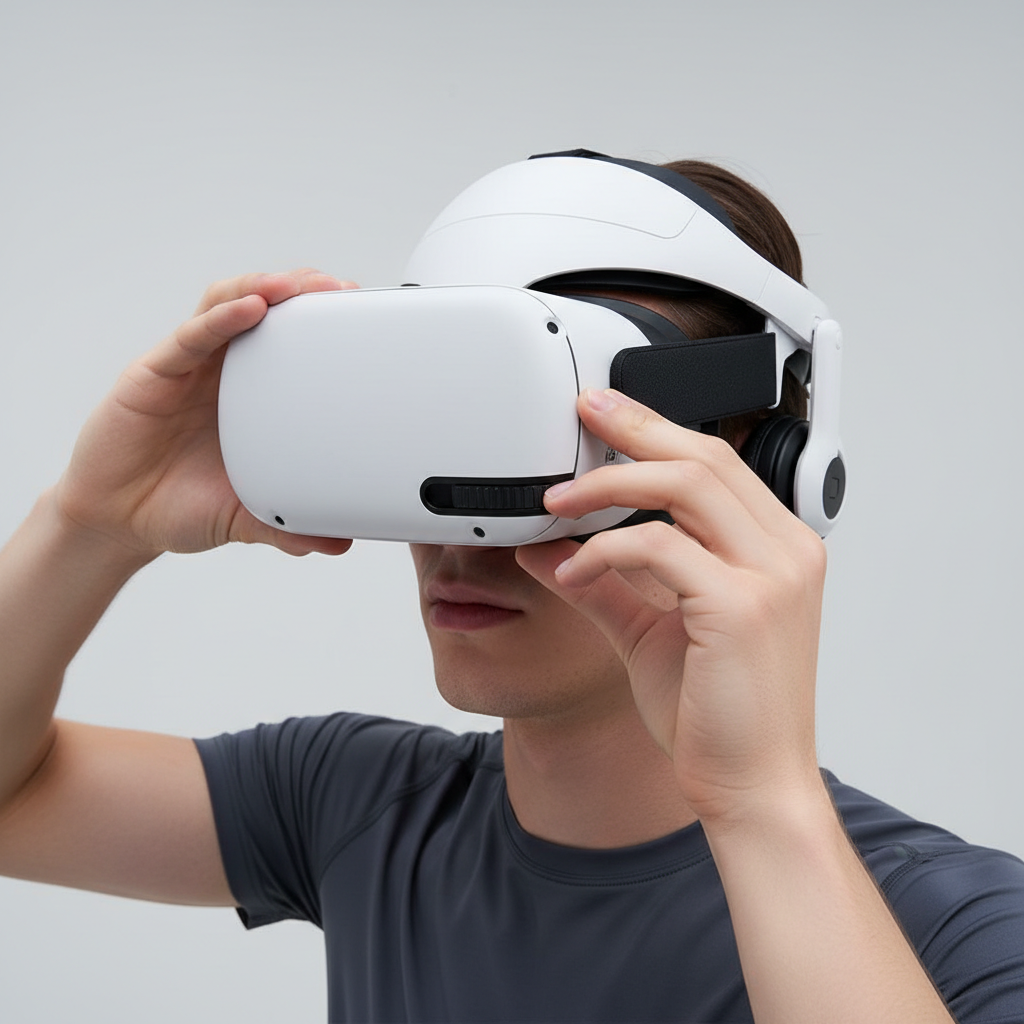
- Check headset fit: pressure on your brow changes how lenses sit, which can blur edges.
- Use the IPD control if available: it helps align optics with your eyes.
- Avoid max brightness in a dark room: it can feel harsh, a mid setting is usually easier.
- Motion smoothing: if your player offers frame interpolation and it introduces artifacts, turn it off, artifact shimmer kills depth.
If you have a known vision condition, frequent migraines, or recent eye surgery, it is smart to ask a medical professional before doing long 3D sessions, especially in VR where the display sits close to your eyes.
Troubleshooting: common 3D problems and quick fixes
Most issues map to a small set of causes. Fix the root, not the symptoms.
It looks flat (no depth)
- 3D mode not enabled, or set to the wrong layout.
- The file is 2D but has “3D” in the name.
- Player is in “mono” or accessibility mode.
Try switching between SBS and OU, if neither works, check the source.
Everything is doubled or blurry
- Projection set wrong, for example 180/360 instead of Flat.
- You selected SBS when the file is OU, or the other way around.
- Headset lenses dirty or fogged.
Do not underestimate the lens wipe, a tiny smudge can make subtitles painful.
Depth feels reversed (inside-out 3D)
- Toggle Swap Eyes / Reverse stereo in the player.
Audio is out of sync or stutters
- Bitrate too high for your Wi‑Fi, try local playback or lower bitrate.
- Background downloads or VPN add instability.
- Try a different audio track if the file includes multiple tracks.
Subtitles are too close, too far, or uncomfortable
- Use the player subtitle depth/position setting if available.
- If the file has “burned-in” subs, you may need a different release or a version without hardcoded subtitles.
Key takeaways and a practical next step
If you remember one thing, how to watch 3d movies in vr is mostly about matching SBS vs OU and keeping the movie in Flat projection unless it is truly 180/360 content, then dialing comfort settings so your eyes do not fight the image.
- Choose the correct 3D layout (SBS/OU), then verify depth with Swap Eyes if needed.
- Prioritize comfort, smaller screen size and moderate 3D strength often feel better for full-length movies.
- Fix playback stability by going local or improving network reliability for high bitrate files.
Tonight, pick one known SBS or OU sample clip, get it perfect in your preferred player, then apply the same settings to your full movie, that single “known good” test saves a lot of time later.