
How to edit vr videos for youtube usually comes down to three make-or-break things: keeping the viewer comfortable, keeping the image geometry intact, and exporting in a format YouTube actually recognizes as VR.
If you edit VR like a normal flat video, you often end up with wobbly horizons, weird seams, over-sharpened footage, and a viewer who clicks away in 10 seconds because it “feels off.” The good news is most fixes are workflow choices, not expensive gear.
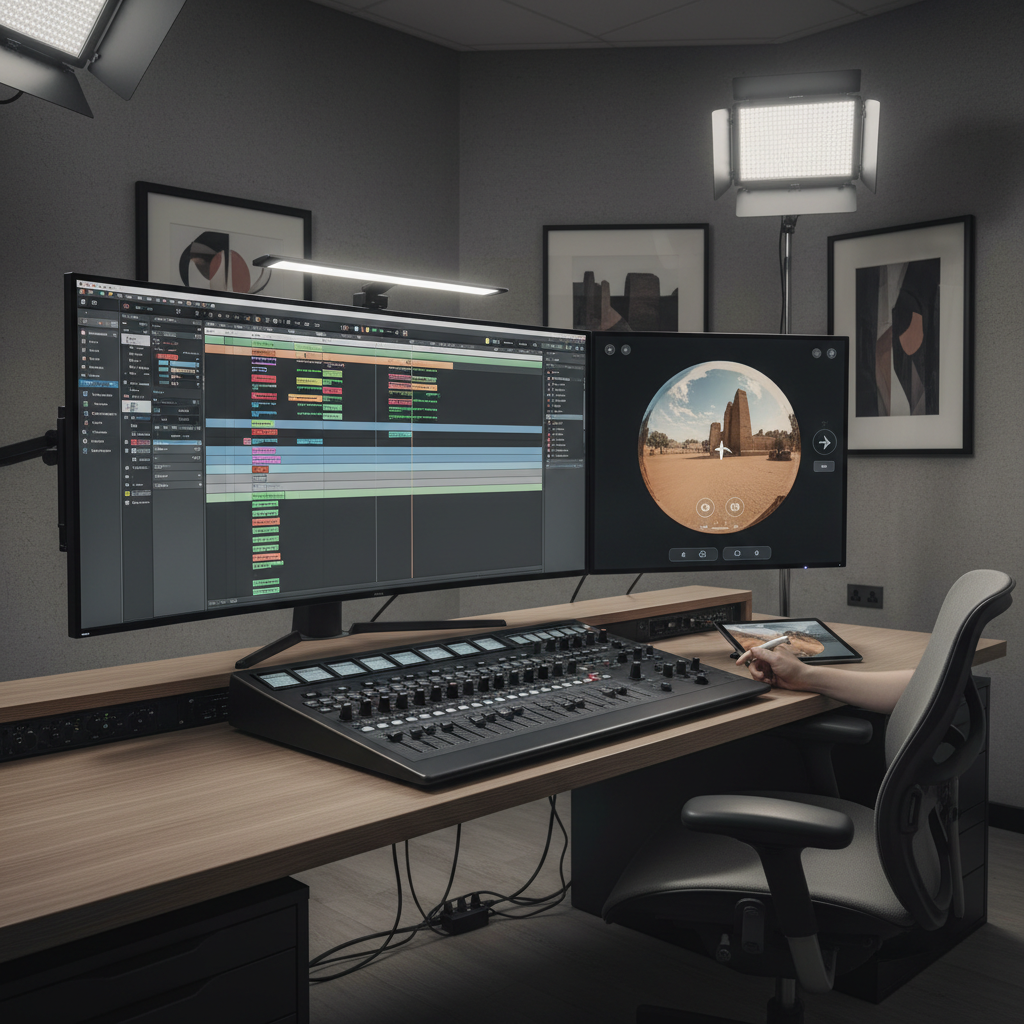
This guide focuses on practical decisions: project setup, stitching assumptions, reframing for different headsets, clean spatial audio, export settings, and the YouTube upload checks that prevent “flat” playback.
Pick the right VR format before you touch the timeline
How to edit vr videos for youtube starts with knowing what you shot, because YouTube treats 180, 360, and 3D very differently.
- 360 monoscopic: most common, one sphere, simpler edit, lighter files.
- 360 stereoscopic (3D 360): heavier, more immersive, more ways to break.
- VR180: half-sphere, usually sharper where it matters, good for close subjects.
- “Reframed” flat video from 360: you publish a standard 16:9 or 9:16, not VR.
If you are not sure, look at your camera app export notes, or inspect a clip in your NLE: many VR clips show up as very wide frames (like 5760×2880) for 360.
Set up your project so horizons and seams don’t drift
Most “VR looks wrong” complaints come from a mismatched sequence setup: wrong frame size, wrong pixel aspect, or effects applied without VR-aware transforms.
Project setup checklist
- Sequence resolution matches the source (common: 3840×1920, 5760×2880, 7680×3840).
- Frame rate stays consistent end-to-end (avoid mixing 29.97 and 30 unless you mean to).
- VR projection settings set to equirectangular for 360 (most YouTube VR uses this).
- Stabilization uses 360/VR tools when possible, not “flat only” warp stabilizers.
According to YouTube Help, 360 videos require proper spherical metadata so YouTube can recognize and play them as immersive content. That’s why your workflow needs to preserve VR metadata (or add it back at export) instead of accidentally stripping it.
Edit moves that keep viewers comfortable (and watching)
VR editing has a comfort tax: rapid cuts, hard zooms, and forced camera movement can create discomfort for some viewers. You can still make it dynamic, you just do it differently.
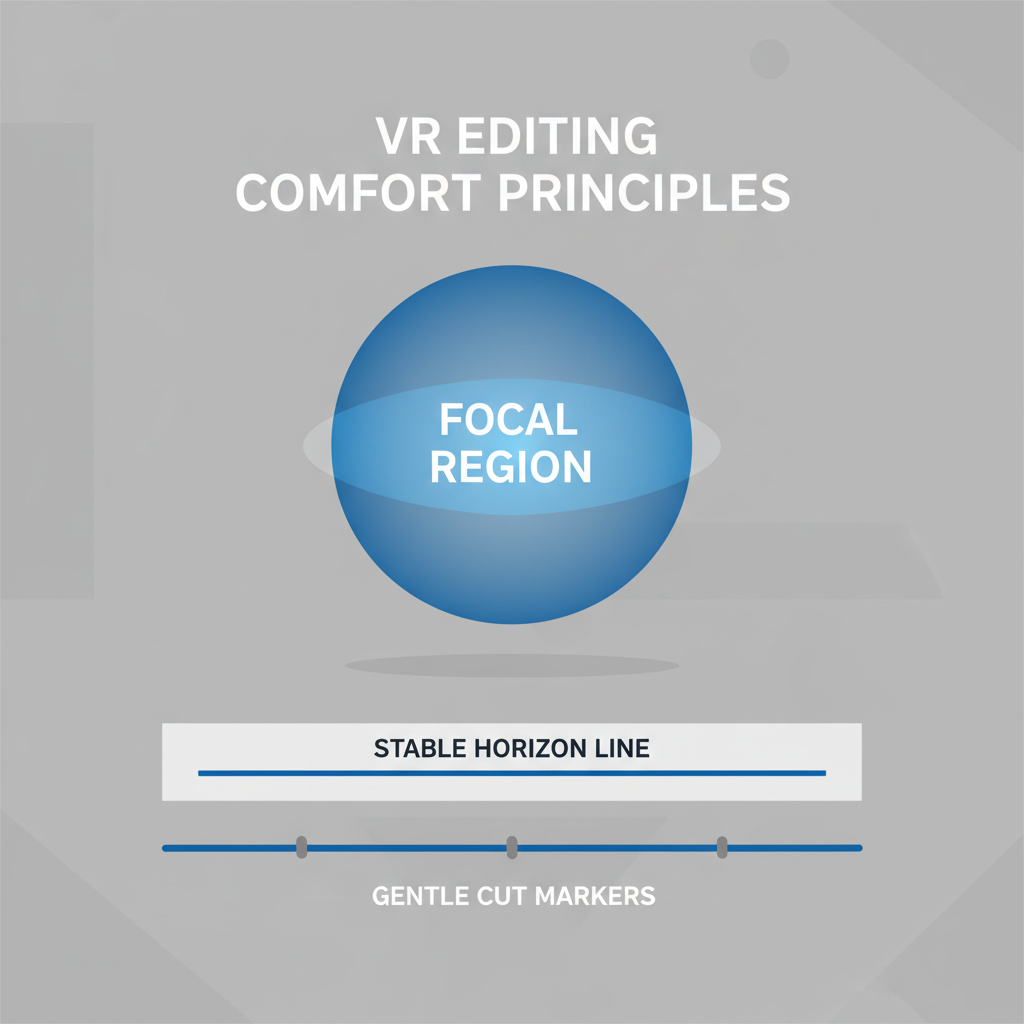
Comfort-friendly editing habits
- Cut on action and avoid whip cuts that snap the viewer’s sense of direction.
- Limit forced rotations; if you must re-orient the view, do it slowly and with a visual cue.
- Keep the horizon level unless your story truly requires tilt.
- Use fades more than you would in 2D when changing location.
- Text and graphics should live in the “safe” forward area and not hug the seam.
If your video includes fast motion, consider adding short “breathing” beats: a couple seconds of stable framing between intense moments. It sounds boring, but it often raises retention.
Reframe (or “direct attention”) without fighting VR
One real challenge in how to edit vr videos for youtube is that you can’t guarantee where people look. Your job becomes “guiding” rather than “controlling.”
Ways to guide attention
- Audio cues: a voice or sound source pulls attention naturally.
- Light and contrast: the brightest or highest-contrast region tends to win.
- Motion cues: movement is a magnet, use it intentionally.
- On-screen arrows/labels: use sparingly, keep them large, keep them forward-facing.
If your goal is a standard YouTube audience (phone + desktop), it can be smarter to create a reframed 16:9 version from your 360 master as a separate upload. You get better thumbnails, clearer storytelling, and fewer viewer complaints.
Audio: clean voice first, then spatial polish
Viewers will forgive soft image quality sooner than they forgive noisy audio. In VR, bad audio feels even more “wrong” because it breaks presence.
Quick audio workflow
- Dialogue cleanup: reduce constant noise, tame harsh sibilance, and level volume.
- Consistent loudness: keep narration stable so headset users don’t keep adjusting volume.
- Spatial audio (optional): use it when direction matters, skip it when it complicates delivery.
According to Google’s support documentation for immersive media, spatial audio requires specific formatting to play back as intended, and not every workflow preserves it automatically. If you are not confident, publish solid stereo rather than broken spatial audio.
Export settings that usually work for YouTube VR
Export is where many VR projects fall apart: the video looks fine locally, then uploads as flat, blurry, or with crushed highlights. The fix is usually a combination of codec choice, bitrate, and metadata.

Common export targets (practical starting points)
These are “safe defaults” many creators use, but your camera and content can change the best choice.
| Type | Resolution (typical) | Codec | Bitrate approach | Notes |
|---|---|---|---|---|
| 360 mono | 3840×1920 or 5760×2880 | H.264 or H.265 | High (detail + motion need more) | H.265 often uploads smaller, but takes longer to encode |
| 360 stereo | 5760×5760 or higher | H.265 | Very high | File sizes get big fast, test short clips first |
| VR180 | 3840×2160 and up | H.264 or H.265 | High | Often looks sharper than 360 at same bitrate |
Key export checks
- Color management: avoid accidental HDR-to-SDR issues unless you intentionally deliver HDR.
- Chroma subsampling: 4:2:0 is common for delivery, but keep a high-quality master.
- Sharpness: avoid heavy sharpening; it can create shimmering in headsets.
- Metadata: confirm the file is flagged as 360/VR so YouTube plays it correctly.
Upload, verify playback, and fix “flat 360” issues
Even when your edit is perfect, YouTube might show the upload as a normal flat video if metadata is missing or stripped. This is the moment to slow down and verify.
Post-upload verification checklist
- Does YouTube show 360 controls (drag to look around) on desktop?
- Does mobile show the gyro option when you move the phone?
- Is the horizon level and are seams acceptable?
- Does audio match the view if you delivered spatial sound?
If it uploads flat, you may need to re-export with VR metadata preserved or added. Many editors and camera tools include a “360 metadata” option; if yours does not, you may need a separate metadata injection step before upload.
Practical workflow: a repeatable edit plan (without overthinking)
If you want a simple routine for how to edit vr videos for youtube, this is the version that tends to hold up across different cameras and editing apps.
- Ingest: organize by scene/location, keep originals untouched, create proxies if your machine struggles.
- Rough cut: trim for story first, do not “polish” early.
- Stabilize and level: fix horizon and major shakes, then lock the cut.
- Guide attention: audio cues, subtle titles, and light contrast moves.
- Audio pass: clean dialogue, then music and ambience.
- Export test: 20–30 seconds, upload privately, check VR playback.
- Final export: only after the test passes, export the full video.
Key takeaways (so you don’t forget the essentials)
- Set the right projection and sequence size before you start cutting.
- Edit for comfort, VR viewers punish aggressive motion.
- Audio quality carries the experience, especially in headsets.
- Export with VR metadata so YouTube recognizes immersive playback.
- Always upload a short test to catch “flat 360” and seam problems early.
Conclusion: publish one clean VR upload, then iterate
How to edit vr videos for youtube is less about fancy effects and more about avoiding the few mistakes that break immersion: bad horizons, harsh cuts, and incorrect export flags. Get one workflow that reliably uploads as true VR, then iterate with small improvements like better guidance cues and tighter audio.
If you want the quickest next step, export a 20–30 second private test upload today, watch it on both desktop and a headset or phone, then adjust your settings once rather than guessing for weeks.